For most building owners, a commercial roof installation is a black box: a contract gets signed, a crew shows up, and a few weeks later there's a new roof. Understanding the steps in between helps you ask better questions, spot a disorganized contractor early, and plan around your tenants and operations.
Here's how a typical commercial roof installation runs in Dallas-Fort Worth, from the permit office to the final walkthrough.
Step 1: Permits, submittals and materials
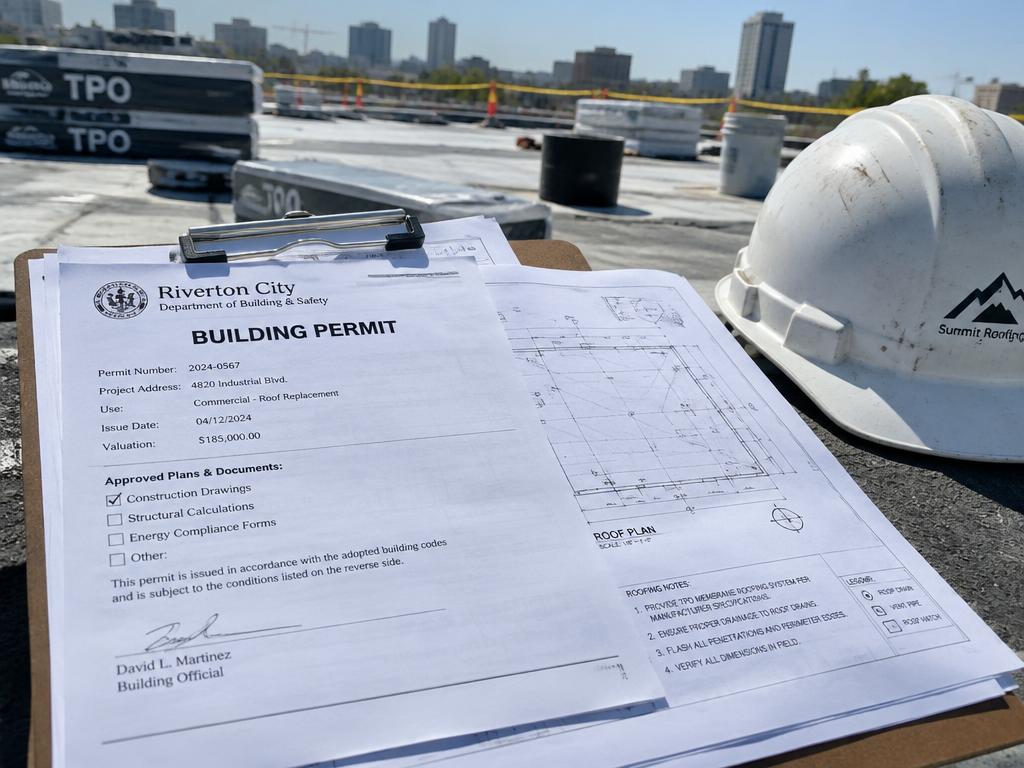
Before work starts, the roofing contractor pulls the required building permit from the city — Dallas, Fort Worth and the surrounding cities each have their own process. If the roof carries a manufacturer system warranty, the project also goes through submittals: the manufacturer reviews the specified assembly, fastening patterns and details and approves them before installation.
Material lead times get locked in at this stage too. Insulation, membrane and edge metal are ordered so everything arrives before tear-off begins — a good contractor doesn't open your roof and then wait on a truck.
Step 2: Mobilization and site setup
The crew sets up material staging, crane or conveyor access, debris chutes or dumpsters, and safety perimeters. On occupied buildings, this is also when the communication plan matters: tenants should know where crews will be working each day, where parking or entrances are affected, and who to contact with concerns.
Step 3: Tear-off or recover
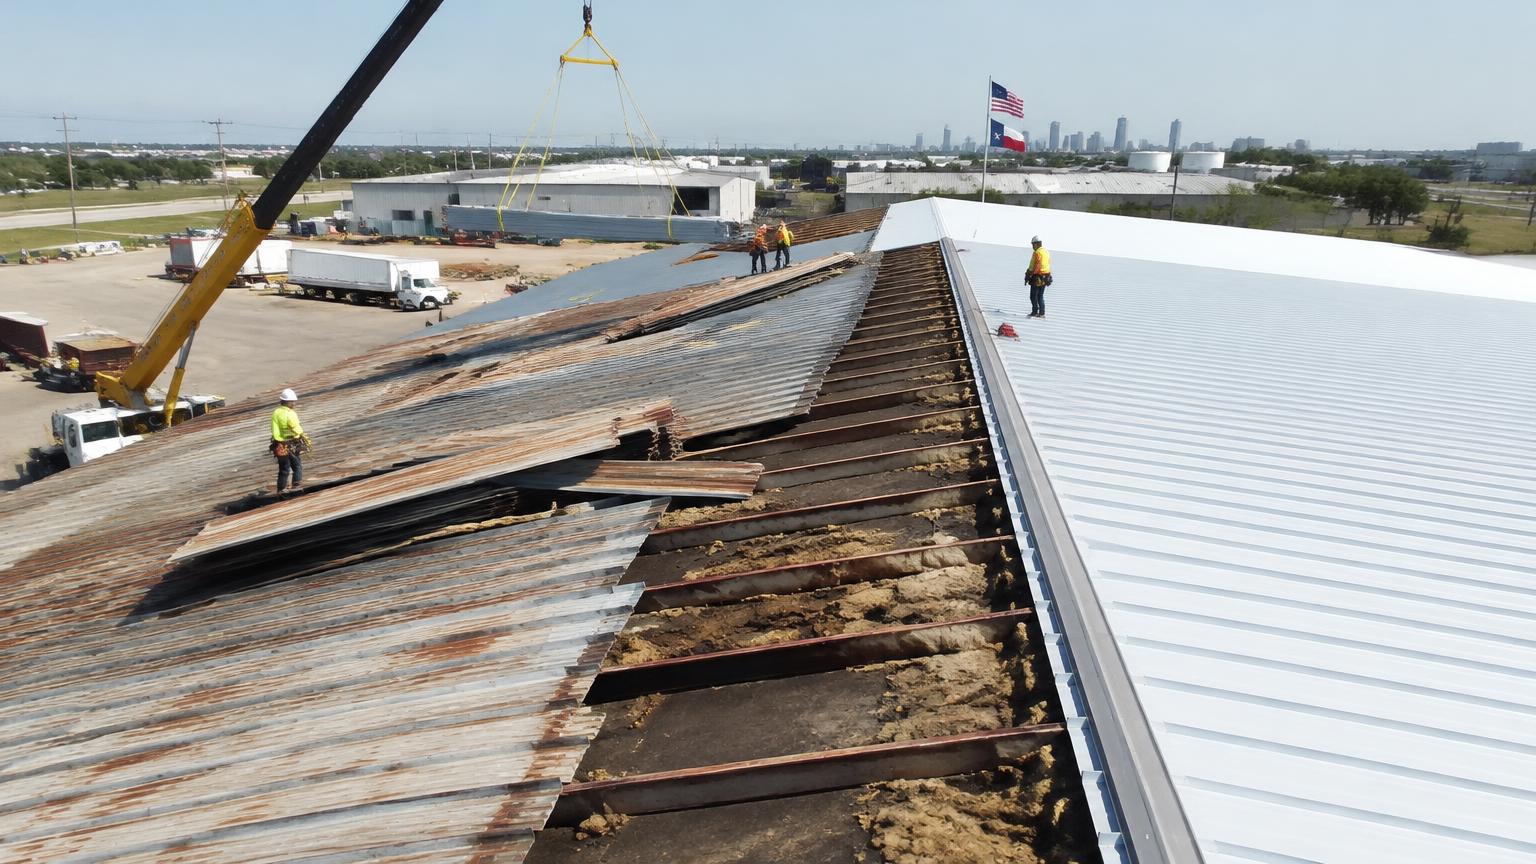
If it's a tear-off, the old roof comes off in sections — and this is where discipline separates professional crews from risky ones. Each section is torn off, inspected, repaired if the deck needs it, and dried in the same day. In North Texas, where a clear morning can become a thunderstorm by 4 p.m., no responsible crew leaves open deck overnight.
If the project is a recover (a new system over a sound existing one), the surface is prepared, wet areas are cut out and replaced, and the new insulation and membrane go down over the old roof.
Step 4: Installation, section by section
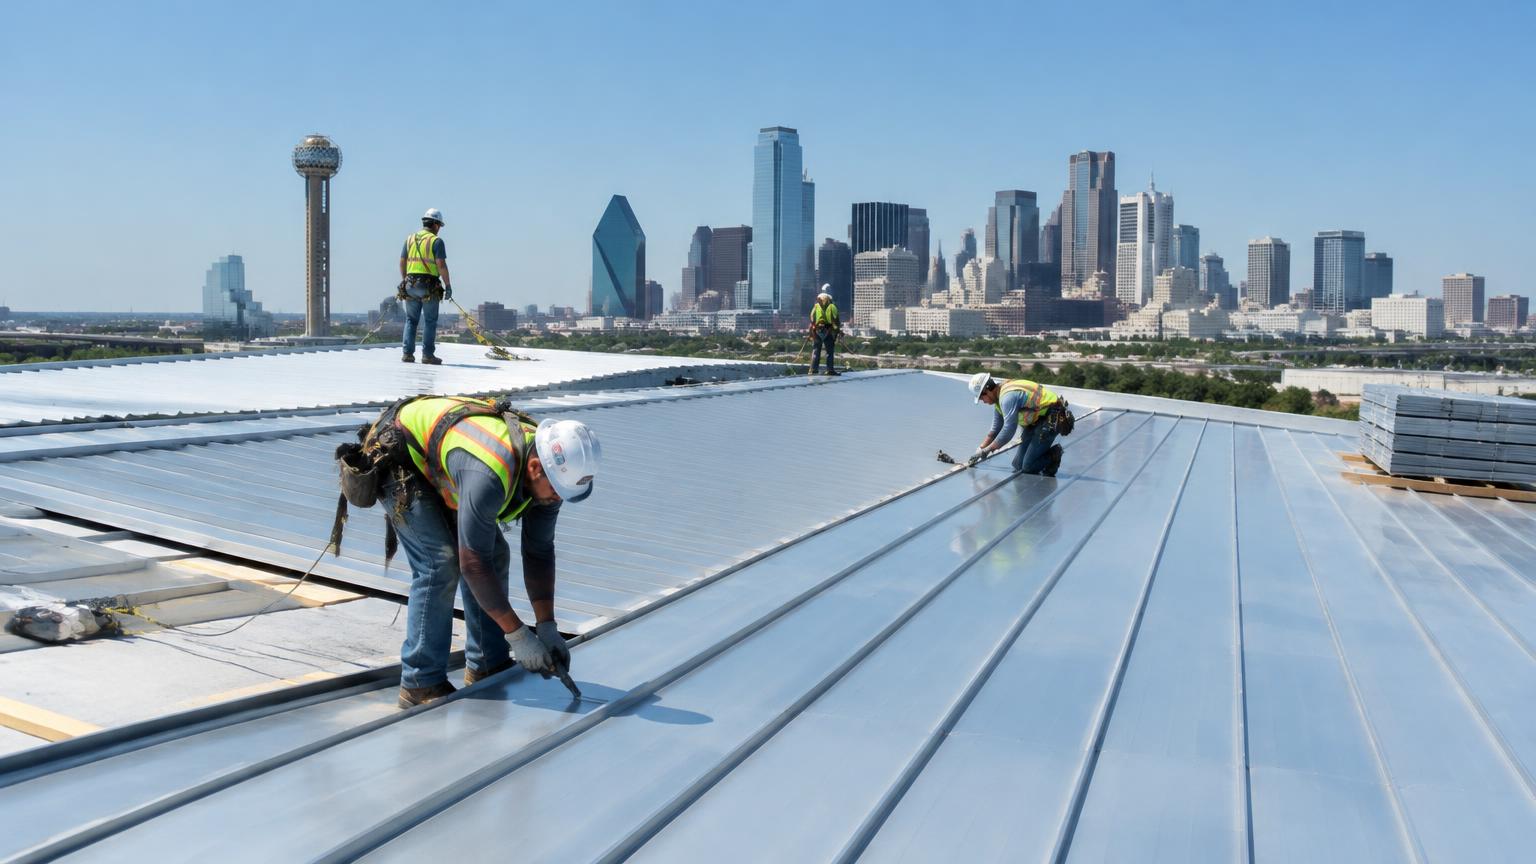
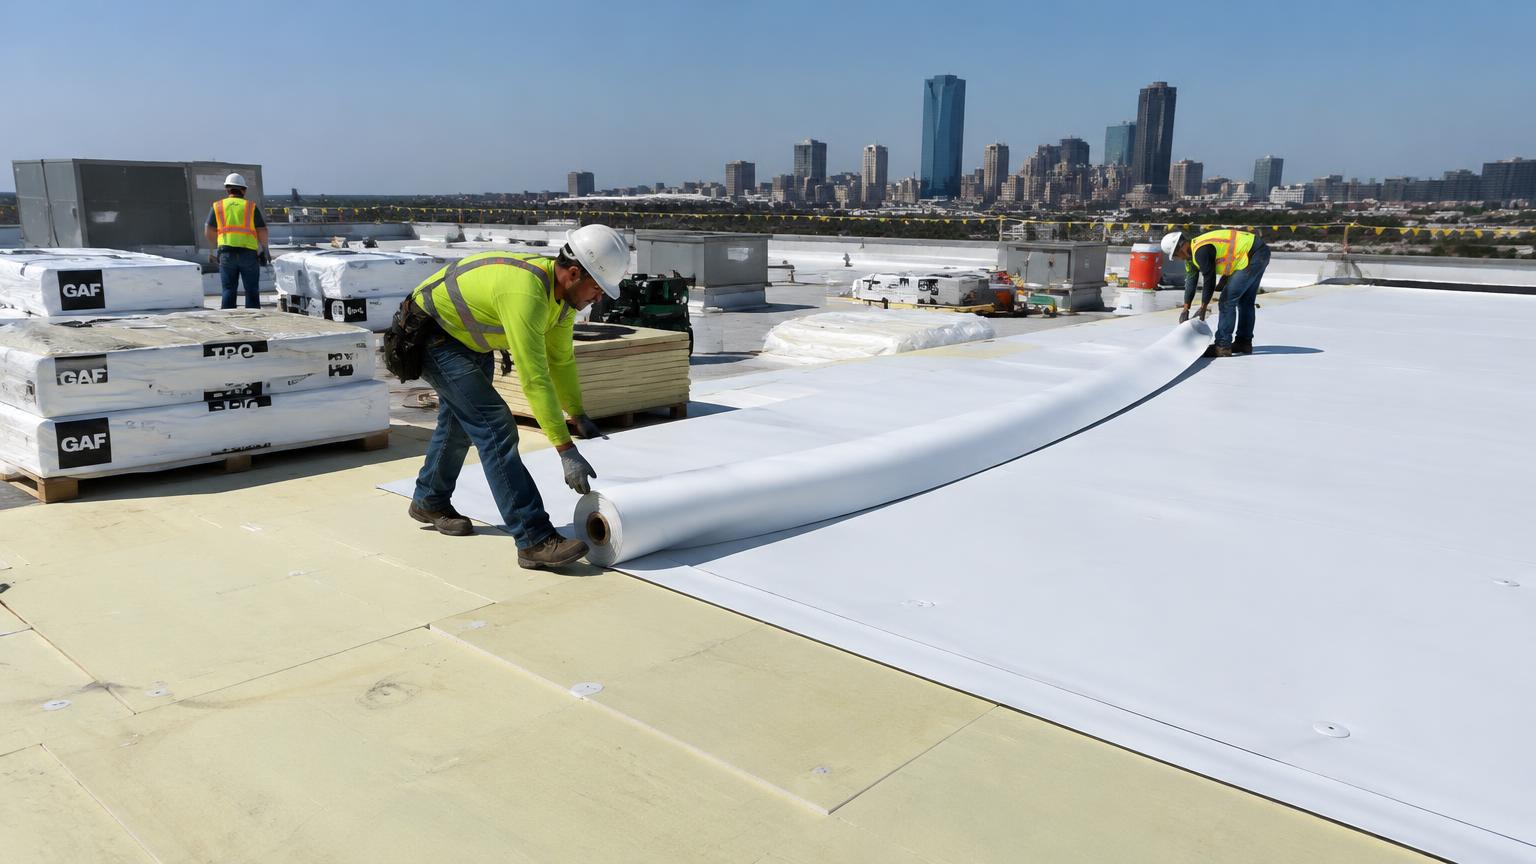
The new system goes down in the same sectional rhythm: insulation and cover board, membrane or panels, seam welding or fastening, and flashing of every penetration as it's reached. Perimeter and corner zones get the enhanced attachment the design requires — this is where wind resistance is won or lost.
A crew chief should be able to tell you, any day you ask, exactly which sections are complete, which are in progress and what's dried in. If that answer is vague, the project management is too.
Step 5: Inspections during and after
Depending on the city and the warranty, expect some combination of:
- City building inspections required by the permit.
- Manufacturer inspections during or after installation — required before most system warranties are issued.
- The roofing contractor's own quality checks at each phase.
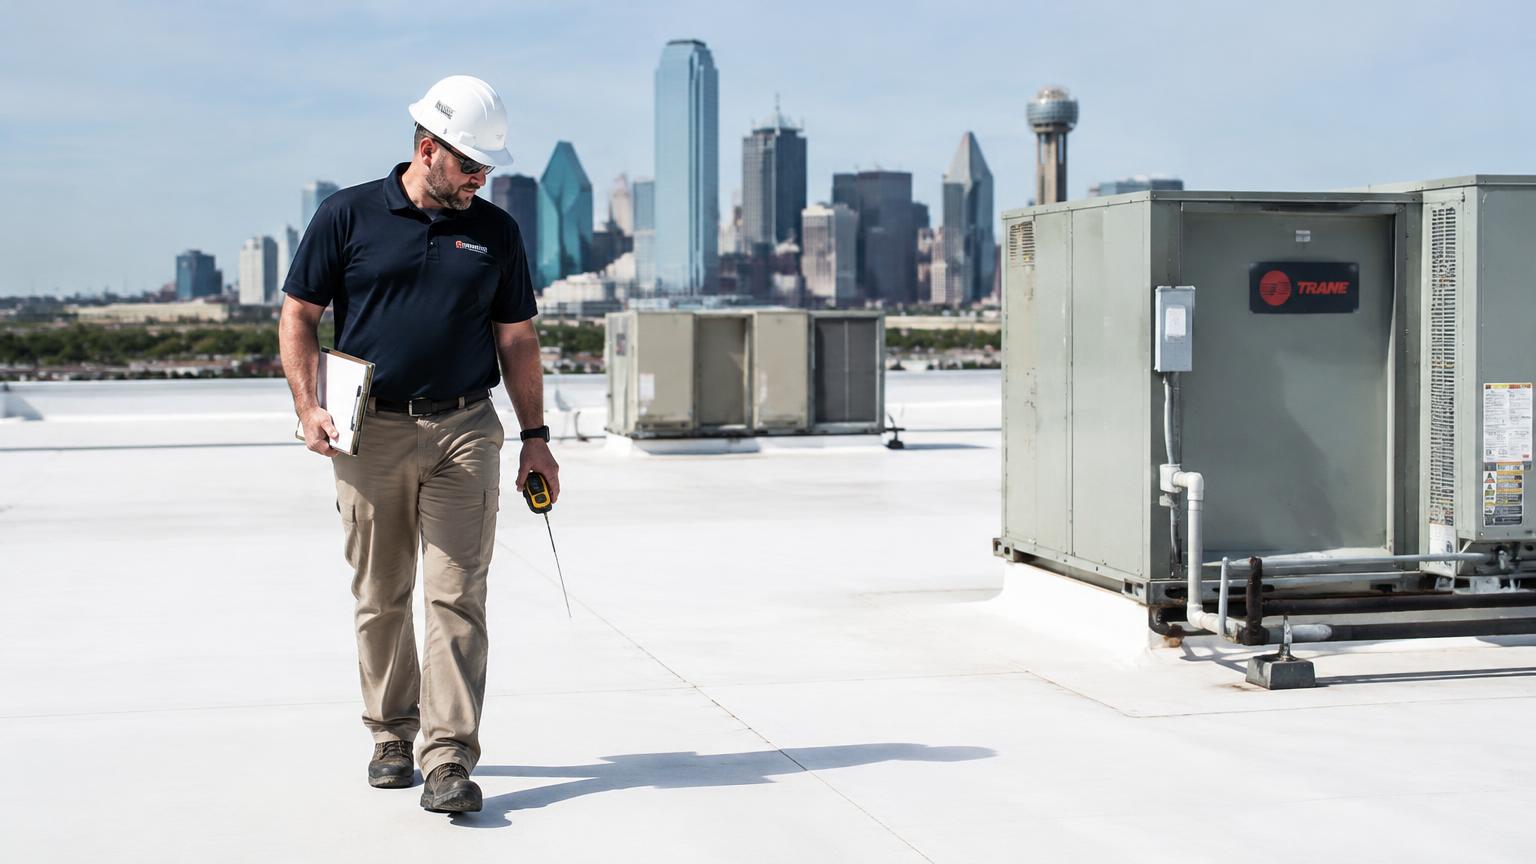
- A final walkthrough with the owner or owner's representative to build the punch list.
Step 6: Closeout — the part that protects you
The job isn't done when the last seam is welded. The closeout package is what you lean on for the next two decades: the manufacturer warranty, the contractor's workmanship warranty, as-built roof plans, product data and maintenance guidance. File it somewhere your successor can find it.
We covered the design-side decisions in our guide to new commercial roof construction in Dallas. If you're planning a replacement or new installation, our Fort Worth commercial roofing team manages the full sequence — permits, phasing, inspections and closeout — with a written schedule before we start. Request a site visit and we'll walk you through exactly how your project would run.